Table Of Contents
Finishing Touches
For the final step in the Tile Repair process, ensure the adhesive has set completely before proceeding with any further adjustments. Haste in this stage may jeopardise the longevity of the repair. It is essential to exercise patience and allow the adhesive to cure fully, as disturbances at this point could compromise the stability of the tile.
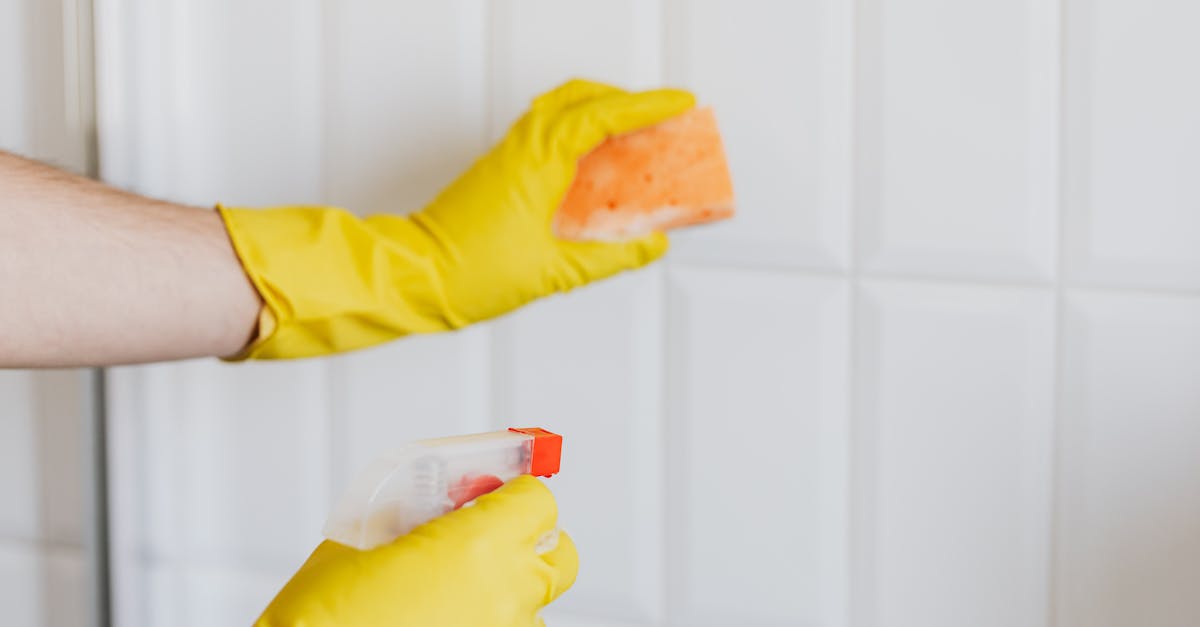
Once the adhesive has properly set, carefully remove any excess adhesive that may have squeezed out during the repair process. Use a putty knife or a similar tool to gently scrape away the surplus adhesive without disturbing the newly repaired tile. This meticulous step will not only enhance the aesthetic appeal of the tile but also contribute to its overall durability and strength.
Remove Excess Adhesive
After pressing the tile firmly into place, it's essential to remove any excess adhesive that may have squeezed out from the edges. To do this, wait for about ten minutes for the adhesive to set slightly, then carefully scrape off the excess with a putty knife or a damp sponge. Be cautious not to disturb the position of the tile while doing this step in the Tile Repair process.
Ensuring that there is no excess adhesive around the edges will guarantee a cleaner finish once the adhesive fully cures. Take your time to remove any residue thoroughly, as leaving it to harden can make it challenging to clean off later. This will result in a seamless and professional look for your repaired tile.
Allowing the Adhesive to Cure
Once the adhesive has been applied and the tile is in place, it is crucial to allow sufficient time for it to cure. This step in the Tile Repair process ensures that the tile bonds securely to the surface and will withstand regular use. Typically, the adhesive manufacturer will recommend a specific curing time on the product packaging which should be strictly adhered to for best results.
During the curing period, it is advisable to avoid putting any weight or pressure on the tile to prevent it from shifting or becoming misaligned. This patience in allowing the adhesive to fully cure is vital in ensuring the longevity and stability of the repaired tile. Once the curing time has passed, the tile should be firmly in place, ready for the next steps in the repair process.
Let it Set Properly
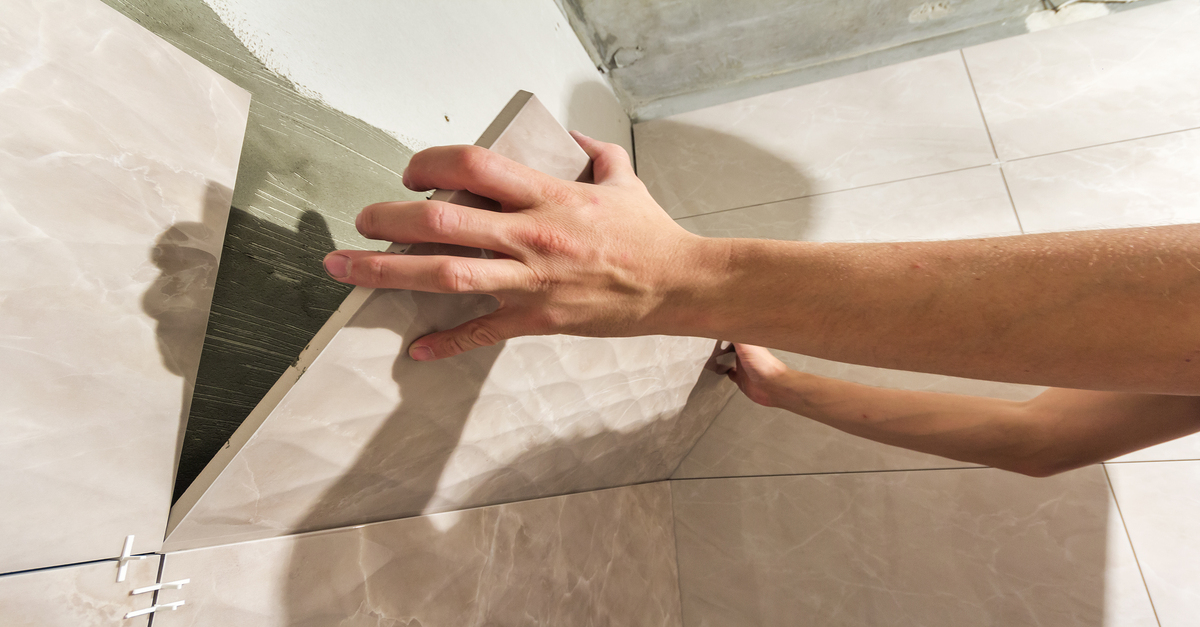
After placing the tile back in its position with adhesive, it is vital to allow it to set properly. This step in the Tile Repair process ensures a secure and long-lasting fix. By providing adequate time for the adhesive to bond with the tile and the surface, you are increasing the chances of a successful repair.
Letting the tile set properly also aids in preventing future issues, such as loose tiles or uneven surfaces. A solid bond between the tile and the adhesive is crucial for maintaining the integrity of the tile work. Give ample time for the adhesive to cure and set before applying any weight or pressure on the repaired tile.
Checking for Stability
Checking for stability in a tile repair job is crucial to ensure its longevity and effectiveness. Once the adhesive has had time to cure, gently press on the repaired tile to test its firmness and stability. Any excessive movement or wobbling could indicate that the adhesive has not properly set or that there are underlying issues with the repair.
If the tile feels secure and does not move when pressed, carefully inspect the surrounding area for any signs of excess adhesive. Removing any leftover adhesive will not only enhance the visual appeal of the repair but also ensure that the tile is properly seated. Taking the time to check for stability in a tile repair project will guarantee a job well done and a lasting solution to your broken tile dilemma.
Test the Tile's Firmness
To ensure that the tile repair has been successful and the tile is firmly in place, it is essential to check its stability. Gently tap the repaired tile with your fingertips to assess if it feels secure. If there is any noticeable movement or the tile sounds hollow, further adjustments may be necessary.
Another way to test the tile's firmness is to place a small piece of masking tape over the repaired area. Press down firmly and then pull the tape away. If the tile lifts with the tape, it indicates that the adhesive has not properly set. In such cases, it is recommended to repeat the process of allowing the adhesive to cure before testing the firmness again.
FAQS
Can I fix a broken tile without replacing it?
Yes, you can fix a broken tile without having to replace it completely by following the steps outlined in this article.
How can I remove excess adhesive when fixing a broken tile?
To remove excess adhesive when fixing a broken tile, use a putty knife or scraper to carefully scrape off any excess adhesive before it dries.
How long should I allow the adhesive to cure before using the fixed tile?
It is recommended to allow the adhesive to cure for at least 24 hours before using the fixed tile to ensure it sets properly.
How can I check if the fixed tile is stable after repair?
To check for stability after fixing a broken tile, gently press on the tile to test its firmness and ensure it is securely in place.
Do I need to test the tile's firmness after fixing a broken tile?
Yes, it is important to test the tile's firmness after repair to ensure it is securely fixed in place and will not come loose easily.