Table Of Contents
Grouting and finishing the repaired tile
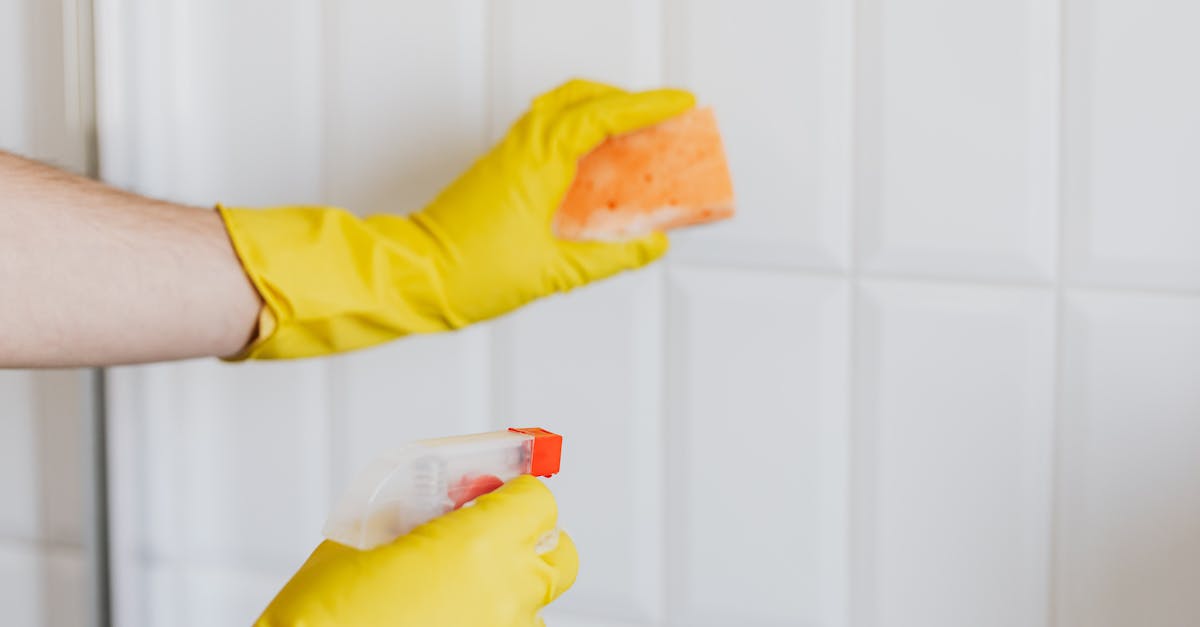
Grouting and finishing the repaired tile is a crucial step in the Tile Repair process. Once the adhesive has dried and the replaced tile is securely in place, it is time to apply the grout. Use a rubber float to spread the grout evenly over the tile surface, making sure to fill all the gaps completely. Wipe away excess grout with a damp sponge before it dries to achieve a neat finish.
After grouting, allow the tile to set for the recommended time before using a dry cloth to buff away any grout residue on the tile surface. This will help reveal the true colour and texture of the repaired tile. Lastly, consider applying a sealant over the grout to protect it from moisture and dirt, ensuring a long-lasting repair.
Ensuring a seamless finish
To ensure a seamless finish during a Tile Repair, attention to detail is crucial. Proper alignment and spacing are key factors in achieving a polished look. Carefully inspect the repaired area, making sure that the new tile sits flush with the surrounding tiles. Any inconsistencies in height or gaps can disrupt the overall appearance of the surface. Utilizing a level can aid in maintaining an even surface, ensuring that the repaired tile blends seamlessly with its neighbors.
Furthermore, selecting the correct grout colour is essential for a flawless finish. The grout should match the existing grout as closely as possible to create a cohesive look. Carefully apply the grout, ensuring that it fills all gaps evenly and is smoothed out for a uniform surface. Once the grout has dried, wipe away any excess residue with a damp sponge to reveal a professionally finished Tile Repair.
Tips for maintaining repaired tiles
After completing the Tile Repair, it is essential to implement proper maintenance practices to preserve the repair work's longevity. Regular cleaning is crucial to prevent dirt and grime build-up, which can deteriorate the repaired area over time. Using mild cleaning solutions and non-abrasive tools will ensure that the repaired tile stays in top condition without causing any damage.
Furthermore, it is recommended to inspect the repaired tile periodically for any signs of wear and tear. Addressing minor issues promptly can prevent further damage and ultimately prolong the repaired tile's lifespan. Additionally, avoiding harsh chemicals and heavy impact on the repaired area will maintain its integrity and appearance for years to come.
Preventing future damage
To prevent future damage after a Tile Repair, it is crucial to apply a sealant over the repaired area. Sealants help in providing an extra layer of protection against moisture and dirt, which are common causes of tile damage. Properly sealing the repaired tile can also enhance its longevity and maintain its appearance over time. It is recommended to use a high-quality sealant that is suitable for the type of tile being repaired.
Additionally, regular maintenance is key in preventing future damage to repaired tiles. Cleaning the tiles regularly with a non-abrasive cleaner can help in preserving the repaired area and preventing the build-up of dirt and grime. Avoid using harsh chemicals or abrasive cleaning tools, as these can damage the repaired section and compromise its integrity. By adopting a proactive approach to maintenance, you can ensure that your repaired tiles remain in top condition for years to come.
Common mistakes to avoid when repairing tiles
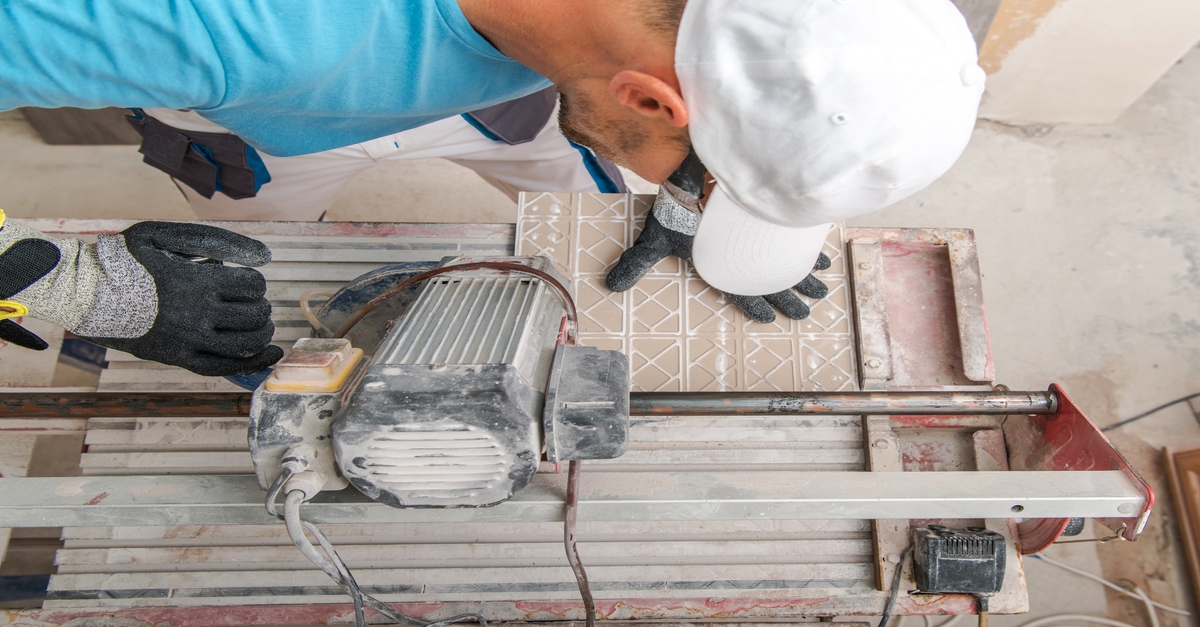
When undertaking Tile Repair, it is crucial to avoid some common mistakes that could potentially worsen the situation. One common error is neglecting to properly clean the damaged area before starting the repair process. Failing to remove dirt, grime, and old adhesive can prevent the new tile from adhering correctly, leading to a subpar repair job. It is essential to thoroughly clean and prepare the surface to ensure a successful and lasting repair.
Another mistake to steer clear of is rushing through the repair without allowing sufficient time for the adhesive or grout to set. Hastily proceeding to use or walk on the repaired tile can result in dislodging the freshly placed tile or disrupting the grout lines, compromising the overall durability of the repair. Patience is key when it comes to tile repairs to ensure that the finished result is sturdy and long-lasting.
Pitfalls to watch out for during the repair process
When undertaking a Tile Repair, it's crucial to be aware of potential pitfalls that may arise during the process. One common issue to watch out for is not adequately preparing the surface before repairing the tile. Failing to clean and dry the area properly can hinder the adhesion of the new tile or grout, leading to a subpar repair that may not last.
Another pitfall to be cautious of is using the wrong type of adhesive or grout for the repair. It's essential to match the materials to the existing ones to ensure a seamless finish and long-lasting results. Using incompatible products can result in discolouration, poor adhesion, or even damage to the surrounding tiles. Being diligent in selecting the correct materials is key to a successful tile repair job.
FAQS
Can cracked tiles be repaired?
Yes, cracked tiles can be repaired using various methods depending on the extent of the damage.
Should I attempt to repair a tile myself or hire a professional?
It is recommended to hire a professional if you are not experienced in tile repair to ensure the job is done correctly and to avoid further damage.
How long does it take to repair a tile?
The time it takes to repair a tile depends on the extent of the damage and the method used for repair. It can range from a few hours to a couple of days.
Can repaired tiles look as good as new?
With the right techniques and materials, repaired tiles can look almost as good as new, especially when done by a skilled professional.
Is it possible to prevent future damage to repaired tiles?
Yes, by following proper maintenance tips such as regular cleaning and sealing of grout, you can help prevent future damage to repaired tiles.