Grout Sealing
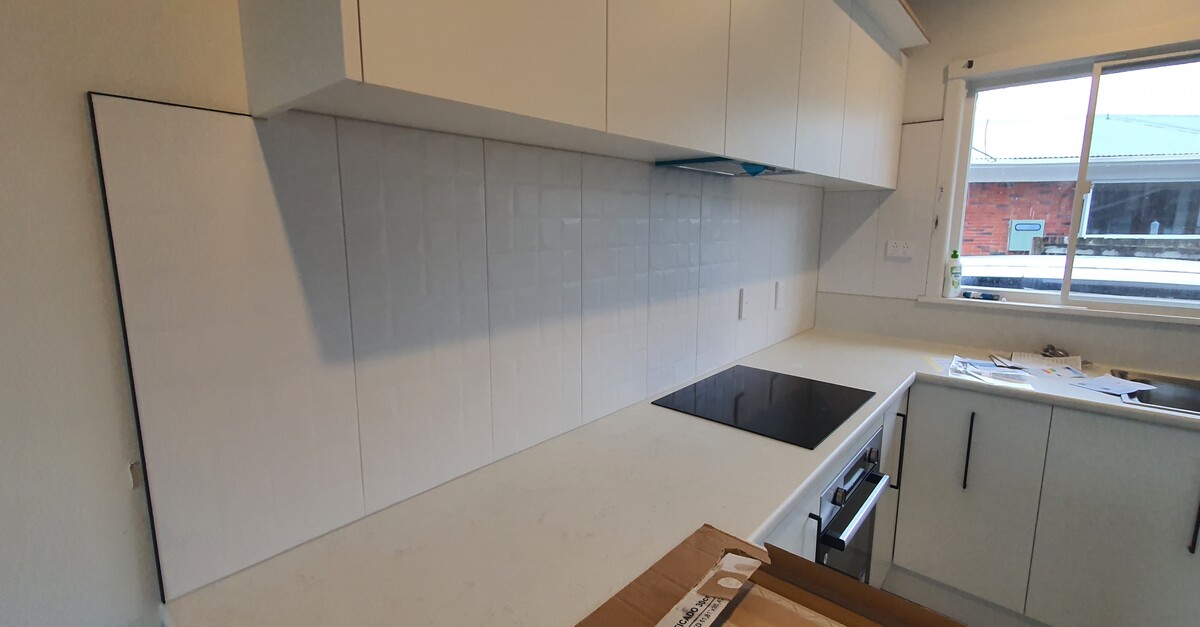
AV Tiling Waikato specializes in providing high-quality grout sealing services for homeowners and businesses in the Waikato region. Grout sealing is an essential part of maintaining the appearance and longevity of tiled surfaces, as it helps to prevent moisture and dirt from penetrating the grout lines. Our team of experienced tile contractors uses premium sealants to protect your grout from stains, mold, and mildew, ensuring that your tiles look as good as new for years to come. Trust AV Tiling Waikato to provide professional and reliable grout sealing services that will enhance the beauty and durability of your tiled surfaces.
Maintenance Tips After Sealing Grout
After sealing your grout, it is crucial to allow ample time for the sealant to cure properly. Avoid wetting the sealed surface for at least 48 hours to ensure maximum effectiveness. During this period, refrain from cleaning the grout or allowing any moisture to come in contact with it. This precaution will help the sealant to fully penetrate the grout and create a strong barrier against stains, dirt, and moisture.
Once the curing period has passed, ongoing maintenance is key to preserving the integrity of the sealed grout. Regularly clean the grout lines with a non-abrasive cleaner and a soft sponge to prevent the build-up of dirt, mildew, or mould. Avoid using harsh chemicals or abrasive tools that can damage the sealant. Additionally, wiping down the grout lines with a mixture of water and vinegar can help to keep them looking fresh and prevent staining. By incorporating these simple maintenance practices into your routine, you can prolong the lifespan of your sealed grout and keep your bathroom or kitchen looking pristine for years to come.
Extending the Lifespan of Your Sealed Surface
To maintain the longevity of your sealed surfaces, it is essential to take proactive steps in their care. Regular cleaning is paramount in preserving the durability of the sealant. Using a pH-neutral cleaner and warm water will help to keep your surfaces free from grime and prevent the breakdown of the sealant over time. Stubborn stains can be gently scrubbed with a soft brush or cloth to avoid damaging the sealant. Additionally, placing doormats at entrances can reduce the amount of dirt and debris brought onto the sealed surface, ultimately reducing wear and tear.
Another effective way to extend the lifespan of your sealed surface is to address any issues promptly. If you notice any cracks, chips, or areas where the sealant has worn off, it is crucial to reseal these spots as soon as possible. Ignoring these minor damages can lead to more significant issues over time, potentially causing the need for costly repairs or resealing of the entire surface. By staying vigilant and addressing maintenance needs promptly, you can ensure that your sealed surfaces remain in top condition for years to come.
Common Mistakes to Avoid When Sealing Grout
When sealing grout, there are several common mistakes that are important to avoid to ensure a successful outcome. One common mistake to avoid is overapplication of sealant. Applying too much sealant can lead to excess build-up on the surface, causing a cloudy or sticky residue that can be difficult to remove. It is essential to follow manufacturer instructions carefully and apply the appropriate amount of sealant for the best results.
Another mistake to avoid when sealing grout is using inappropriate cleaning agents. Harsh chemicals such as bleach, ammonia, or acidic cleaners like vinegar can damage the grout and the sealant, compromising its effectiveness. Instead, opt for mild detergents or specialised grout cleaners recommended for use with the type of grout and sealant you have chosen. By avoiding these mistakes, you can keep your grout looking fresh and well-sealed for longer periods.
Overapplication and Excess Sealant Issues
Overapplying sealant on grout can lead to a range of issues that may affect the appearance and functionality of your tiled surface. Excess sealant can create a cloudy or hazy film on the tiles, giving them an unattractive and dull look. Moreover, overapplication can cause the grout to become sticky and tacky, attracting dirt and grime more easily. This buildup of debris can make cleaning more challenging and compromise the water-resistant properties of the sealant, leading to potential leaks and damage over time.
Excessive sealant can also alter the texture of the tiled surface, making it feel gummy or uneven. This can be particularly problematic in high-traffic areas where the tackiness can attract dust and debris, making the surface harder to clean and maintain. Additionally, an overabundance of sealant can interfere with the bond between tiles and grout, causing them to separate or crack prematurely. It's crucial to apply sealant judiciously and follow the manufacturer's guidelines to avoid these issues and ensure the longevity of your tiled surfaces.
DIY vs. Professional Grout Sealing
When it comes to sealing grout, homeowners often face the decision of whether to take on the task themselves or hire a professional. DIY grout sealing kits are readily available at hardware stores, offering a cost-effective alternative to professional services. These kits typically contain sealant, applicators, and instructions for easy application. For those confident in their DIY abilities, sealing grout can be a satisfying project that enhances the appearance and longevity of tiled surfaces.
However, professional grout sealing services offer a level of expertise and efficiency that DIY attempts may lack. Tile contractors have the experience and tools to ensure thorough coverage and proper sealing of grout lines. Additionally, professionals may use industrial-grade sealants that provide superior protection against stains, water damage, and bacteria growth. While DIY sealing can save on costs, opting for professional services guarantees a high-quality, long-lasting seal that can prolong the lifespan of your tiled surfaces.
When to Seek Professional Assistance
It is essential to seek professional assistance for grout sealing in certain instances. If you are unsure about the type of sealer to use for your specific tiles or if the area to be sealed is particularly large or intricate, consulting with an expert is advisable. Professionals have the knowledge and expertise to assess your situation accurately and recommend the most suitable products and techniques to ensure long-lasting results. Additionally, seeking help from a tile contractor is crucial if you have attempted DIY grout sealing but encountered issues such as overspray, sealer pooling, or uneven application.
Another scenario that necessitates professional intervention is when the sealed surface shows signs of damage or wear over time. If you start noticing flaking, discolouration, or the formation of mould and mildew on your grout lines despite previous sealing efforts, it may be time to call in the experts. They can inspect the area thoroughly, identify the underlying causes of the problems, and provide solutions to rectify the issues effectively. Professional tile contractors can also conduct resealing procedures to restore the integrity of your grout and prevent further damage, ultimately extending the lifespan of your tiled surfaces.
FAQS
How often should I seal my grout?
It is recommended to seal your grout once every 1-2 years, depending on the amount of foot traffic and usage in the area.
Can I seal my grout myself?
Yes, you can seal your grout yourself using grout sealing products available in the market. Make sure to follow the instructions carefully for best results.
What are the benefits of sealing grout?
Sealing grout helps to protect it from stains, mold, and mildew, making it easier to clean and extending its lifespan.
How long does it take for grout sealer to dry?
The drying time for grout sealer can vary depending on the product used, but it typically takes around 24-48 hours for the sealer to fully cure.
Can I seal old grout?
Yes, you can seal old grout to restore its appearance and protect it from further damage. Just make sure to clean the grout thoroughly before applying the sealer.
