Table Of Contents
Apply the Grout Sealer
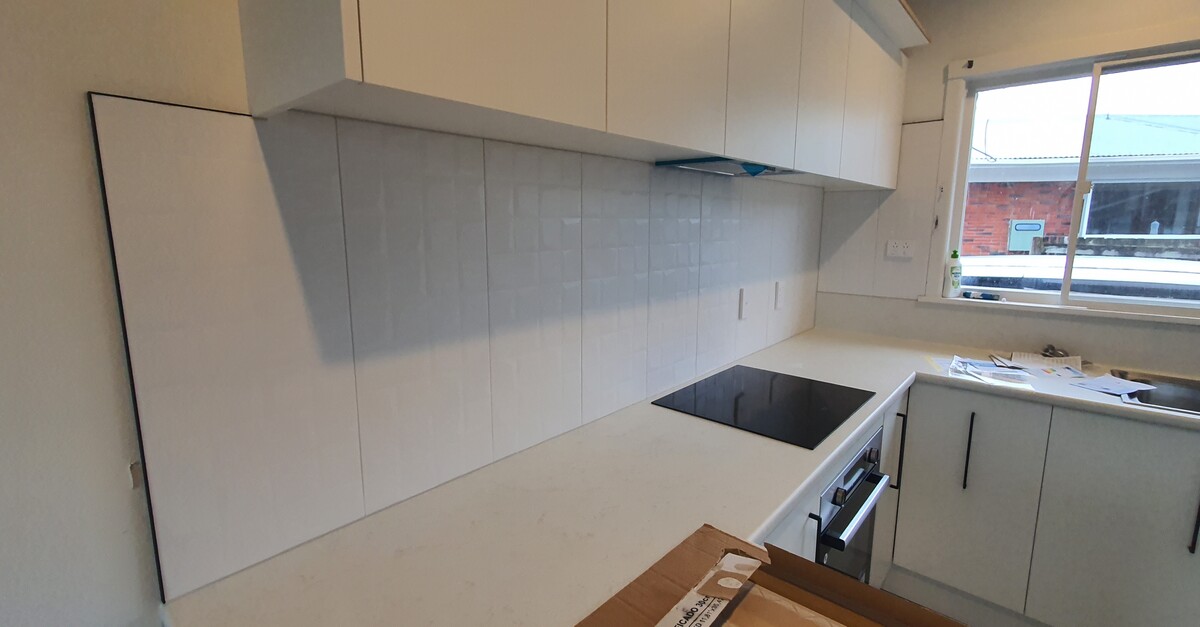
To start the process of Grout Sealing, the first step is to apply the grout sealer. Before getting started, ensure that the grout lines are clean and dry. Using a brush or applicator specifically designed for grout sealing, apply the sealer evenly along the grout lines. It is important to work in small sections to ensure complete coverage without missing any spots.
Once the sealer is applied, use a back-and-forth motion to spread it evenly across the grout lines. This motion helps in ensuring that the sealer penetrates into the grout to provide maximum protection. Avoid rushing this step to prevent any uneven application of the sealer. Remember, the key to successful Grout Sealing is in the thoroughness of the application process.
Use a BackandForth Motion for Even Application
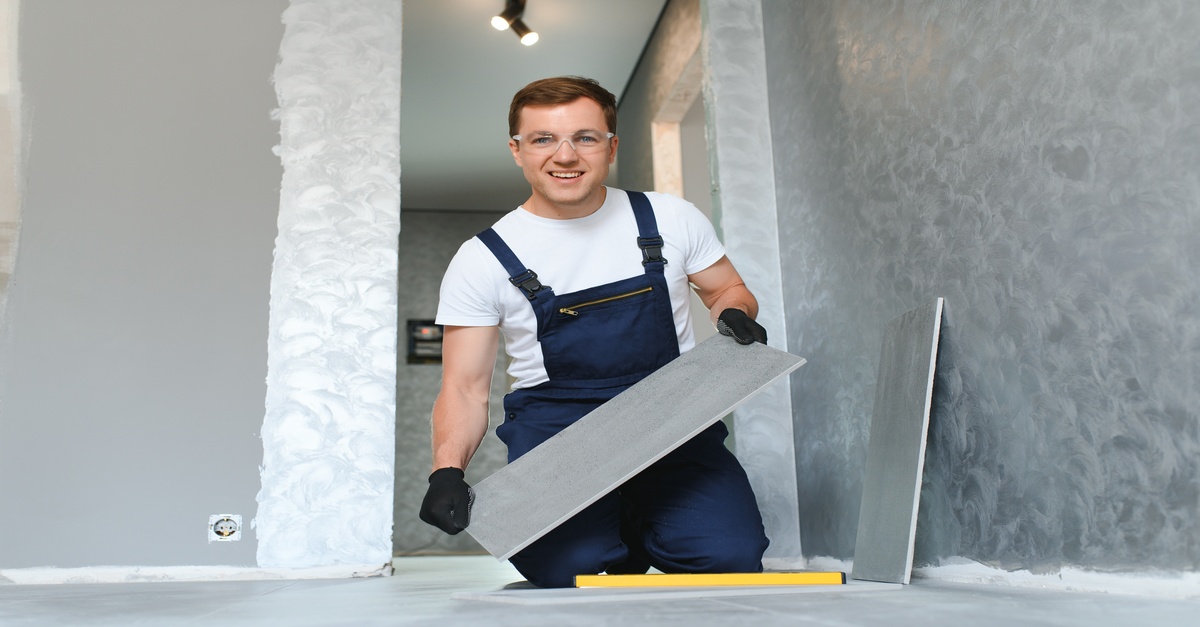
To ensure thorough protection, professionals emphasize the importance of applying grout sealer with a back-and-forth motion for even coverage. This technique guarantees that every crevice and corner are properly sealed, preventing moisture and dirt from penetrating the grout lines. By executing this method meticulously, experts uphold the integrity of the grout, prolonging its lifespan and maintaining its aesthetic appeal over time. Achieving consistent coverage is paramount in the process of grout sealing to guarantee effective protection against stains and water damage. Professionals recommend dedicating sufficient time and attention to this step to ensure that the sealer penetrates the grout evenly, fortifying its resistance to everyday wear and tear.
Wipe Off Excess Sealer
After applying the grout sealer, it is essential to wipe off the excess sealer to ensure a clean and polished finish. Use a clean cloth to gently remove any surplus sealer from the surface of the grout. This step is crucial in achieving an even application and preventing any sticky or tacky residue once the sealer dries.
Make sure to thoroughly inspect the grout lines and corners for any remaining excess sealer. Using a back-and-forth motion, wipe off the sealer until the grout lines appear clean and free of any streaks or excess product. Remember that proper removal of excess sealer is a key part of the grout sealing process and contributes to a professional and long-lasting result.
Use a Clean Cloth to Remove Any Residue
After applying the grout sealer, using a clean cloth is essential to remove any residue left on the tiles or surfaces. This step is crucial in ensuring a clean and polished finish to your grout sealing process. Gently wipe the surface with the clean cloth to eliminate any excess sealer or smudges that may have been left behind during application.
By carefully removing any residue with a clean cloth, you not only enhance the aesthetics of the sealed grout but also prevent any potential damage that could occur from the excess sealer. This final touch is an important part of the grout sealing process, ensuring that your tiled surfaces look impeccable and are properly sealed against moisture and stains. Remember to inspect the area closely to make sure all residue has been successfully removed before allowing the sealer to cure completely.
Allow the Sealer to Cure
Once the grout sealer has been evenly applied and any excess sealer wiped off, it is essential to allow the sealer to cure properly. The curing time is crucial for the sealer to bond effectively with the grout and create a strong protective barrier. It is recommended to follow the manufacturer's instructions regarding the curing time to ensure optimal results. Rushing this step could compromise the effectiveness of the grout sealing process and shorten the lifespan of the sealer.
Properly allowing the sealer to cure will enhance the durability of the grout and prolong the overall aesthetic appeal of the tiled surface. Rushing through this crucial stage may result in the sealer not providing adequate protection, leaving the grout vulnerable to stains and moisture penetration. By patiently allowing the sealer to cure as recommended, you are investing in the long-term maintenance of your tiles and ensuring that the grout remains in top condition for an extended period.
Follow Manufacturer's Instructions for Curing Time
Follow Manufacturer's Instructions for Curing Time
Once the grout sealer has been evenly applied and any excess sealer wiped off, it is crucial to adhere strictly to the manufacturer's suggested curing time. The curing time may vary depending on the type and brand of grout sealer used, so it is essential to consult the product instructions for accurate information on how long the sealer needs to cure. Failure to allow the sealer to cure for the recommended duration can result in improper sealing of the grout, leaving it vulnerable to stains, moisture, and dirt infiltration. It is advisable to exercise patience during this phase of the grout sealing process to ensure optimal protection and longevity for your tiled surfaces.
FAQS
What is grout sealer and why is it important?
Grout sealer is a protective layer applied to grout lines to prevent dirt, stains, and moisture from penetrating the grout. It helps prolong the life of the grout and maintain the appearance of tiled surfaces.
How often should grout be sealed?
It is recommended to seal grout once every 1-2 years, or as per the manufacturer's guidelines. High-traffic areas or areas exposed to moisture may require more frequent sealing.
Can I apply grout sealer myself or should I hire a professional?
Applying grout sealer can be done as a DIY project, but for best results, especially in larger areas or intricate tile patterns, hiring a professional may ensure a more thorough and even application.
How long does it take for grout sealer to dry?
The drying time for grout sealer can vary depending on the type of sealer used. It is important to follow the manufacturer's instructions regarding curing time to allow the sealer to fully penetrate and protect the grout.
Is it necessary to wipe off excess sealer after application?
Yes, it is important to wipe off any excess sealer to prevent a sticky residue from forming on the surface. Use a clean cloth to remove any leftover sealer for a smooth and clean finish.