Table Of Contents
Mixing and Applying Tile Adhesive Correctly
Mixing and applying tile adhesive correctly is crucial for a successful DIY tile installation project. Start by selecting the appropriate adhesive for your specific tile type and surface. Follow the manufacturer's instructions carefully to mix the adhesive to the correct consistency, ensuring it is free of lumps and clumps. Properly mixed adhesive will provide a strong bond between the tiles and the substrate, ensuring a durable and long-lasting Tile Installation.
When applying the adhesive, use a notched trowel to spread an even layer on the surface. Make sure to follow the recommended coverage guidelines to ensure that the tiles adhere properly. Work in small sections at a time to prevent the adhesive from drying out before laying the tiles. It's essential to apply the adhesive evenly and consistently to avoid uneven tile placement and potential bond failures. Taking the time to mix and apply the adhesive correctly will set a solid foundation for the rest of your tile installation project.
Ensuring Proper Adhesive Application
When it comes to Tile Installation, ensuring the proper application of adhesive is crucial for the success and longevity of your project. Before beginning to apply the adhesive, make sure to read the manufacturer's instructions carefully to understand the correct mixing ratios and application techniques. Using the right tools, such as a notched trowel, can also help achieve a consistent layer of adhesive on the substrate.
In addition to following the manufacturer's guidelines, it is essential to prepare the surface properly before applying the adhesive. Ensure that the surface is clean, dry, and free of any debris that could interfere with the adhesion of the tiles. By taking the time to properly prepare the substrate and follow the adhesive manufacturer's instructions, you can set a solid foundation for your tiles and ensure a successful Tile Installation project.
Setting Tiles in Place
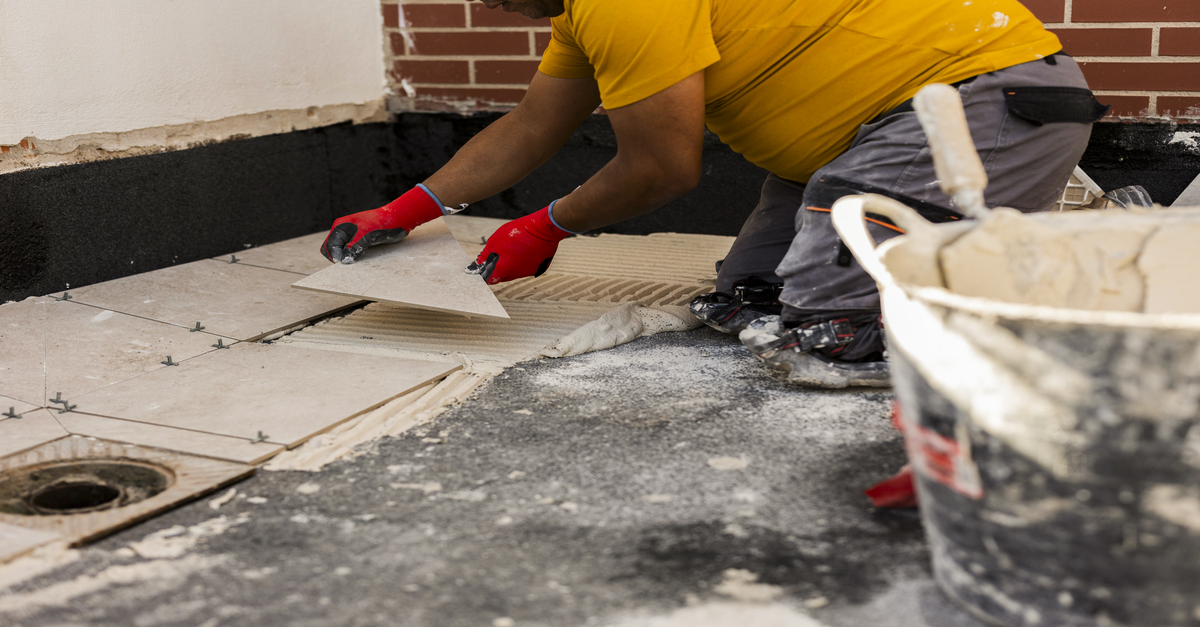
Now that you have the adhesive applied correctly, it's time to set your tiles in place. This step in the tile installation process is crucial for achieving a professional look. Start by carefully pressing each tile into the adhesive, taking care to ensure they are level and evenly spaced. A tile spacer can be helpful in maintaining a consistent gap between each tile for a clean finish.
It's important to work methodically across the surface, placing one tile at a time and gently tapping it into place with a rubber mallet. Make sure each tile is securely set in the adhesive before moving on to the next, paying attention to the layout and pattern as you go. Remember, the key to a successful tile installation lies in the precision and care taken during the setting process.
Achieving Level and Uniform Tile Placement
Level and uniform tile placement is crucial for a professional finish in any Tile Installation project. Before applying the adhesive, ensure that the surface is clean and level. Use a spirit level to check the horizontal and vertical alignment of the tiles as you lay them. Adjust the position of each tile as needed to maintain a consistent level across the entire surface.
Take your time and pay attention to detail when setting the tiles in place. Use tile spacers to ensure even gaps between the tiles. This will help you achieve a uniform look that enhances the overall aesthetics of the space. Remember that precision is key in achieving a flawless finish in your Tile Installation project.
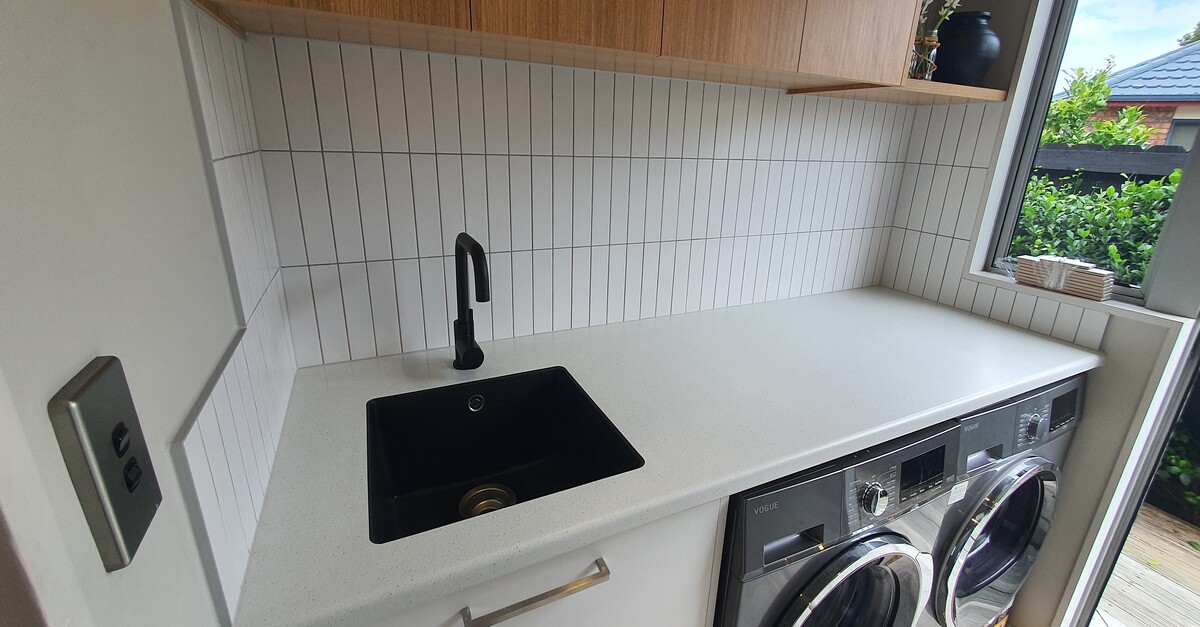
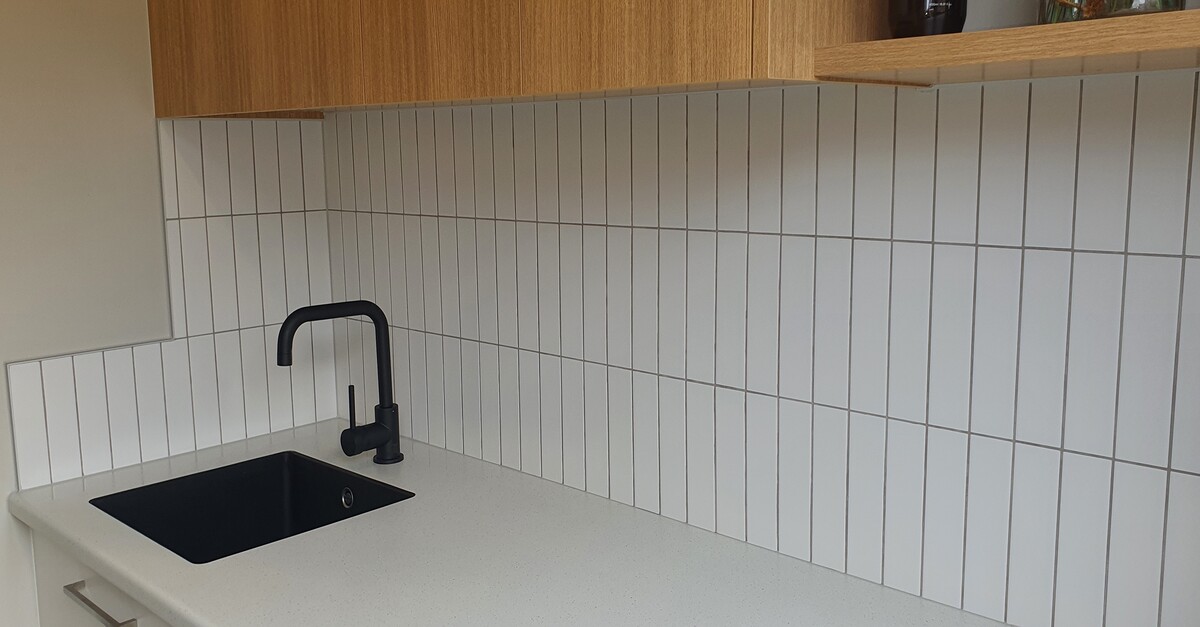
Grouting Your Tiles for a Professional Finish
Grouting plays a crucial role in achieving a polished and professional look for your tile installation. It not only serves to fill the gaps between tiles but also enhances the overall aesthetics of the surface. To ensure a flawless finish, it is imperative to pay attention to detail during the grouting process. Proper grouting technique can elevate the appearance of the tiles and provide a cohesive look to the entire installation.
When grouting your tiles, begin by mixing the grout according to the manufacturer's instructions. Work in small sections to prevent the grout from drying out prematurely. Apply the grout diagonally across the tiles using a rubber float, ensuring that all spaces are adequately filled. Once the grout is in place, use a damp sponge to wipe away excess grout from the tile surfaces. Be gentle yet thorough in this step to avoid removing too much grout from the gaps. Allow the grout to set for the recommended amount of time before polishing the tiles with a dry cloth to reveal a clean and professional finish.
Techniques for Grouting Tiles Effectively
Grouting tiles is a crucial step in the tile installation process. To achieve a professional finish, it is essential to pay close attention to the grouting technique. One effective method is to start by applying the grout diagonally across the tiles using a rubber float. This ensures that the grout fills the spaces between the tiles evenly and helps prevent air bubbles from forming.
After applying the grout, use a damp sponge to wipe off excess grout from the surface of the tiles. Rinse the sponge regularly in clean water to ensure a smooth and uniform finish. Once the grout has partially dried, typically after about 30 minutes, use a clean, dry cloth to polish the tiles and remove any grout haze. This final step will give your tiled surface a professional look and ensure that your tile installation is completed to a high standard.
FAQS
Can I install tile myself without any prior experience?
Yes, you can install tile yourself even if you don't have prior experience. With the right tools, materials, and guidance, it is possible to successfully complete a tiling project.
What tools and materials do I need to install tile on my own?
To install tile yourself, you will need basic tools such as a tile cutter, notched trowel, grout float, and sponge. Additionally, you'll need materials like tile adhesive, tiles, spacers, and grout.
How important is it to mix and apply tile adhesive correctly?
Mixing and applying tile adhesive correctly is crucial for the success of your tiling project. Follow the manufacturer's instructions carefully to ensure proper adhesion and longevity of your tiles.
What are some tips for setting tiles in place effectively?
To set tiles in place effectively, make sure to achieve level and uniform placement. Use spacers to maintain consistent spacing between tiles and ensure a professional finish.
Is grouting necessary for a tile installation, and how can I do it effectively?
Grouting is essential to fill the gaps between tiles and create a finished look. Use proper grouting techniques such as applying grout at a 45-degree angle and wiping off excess grout promptly for a professional finish.